
Signing In
Teachers choose the Sign in with Clever option on the LitLab sign-in page.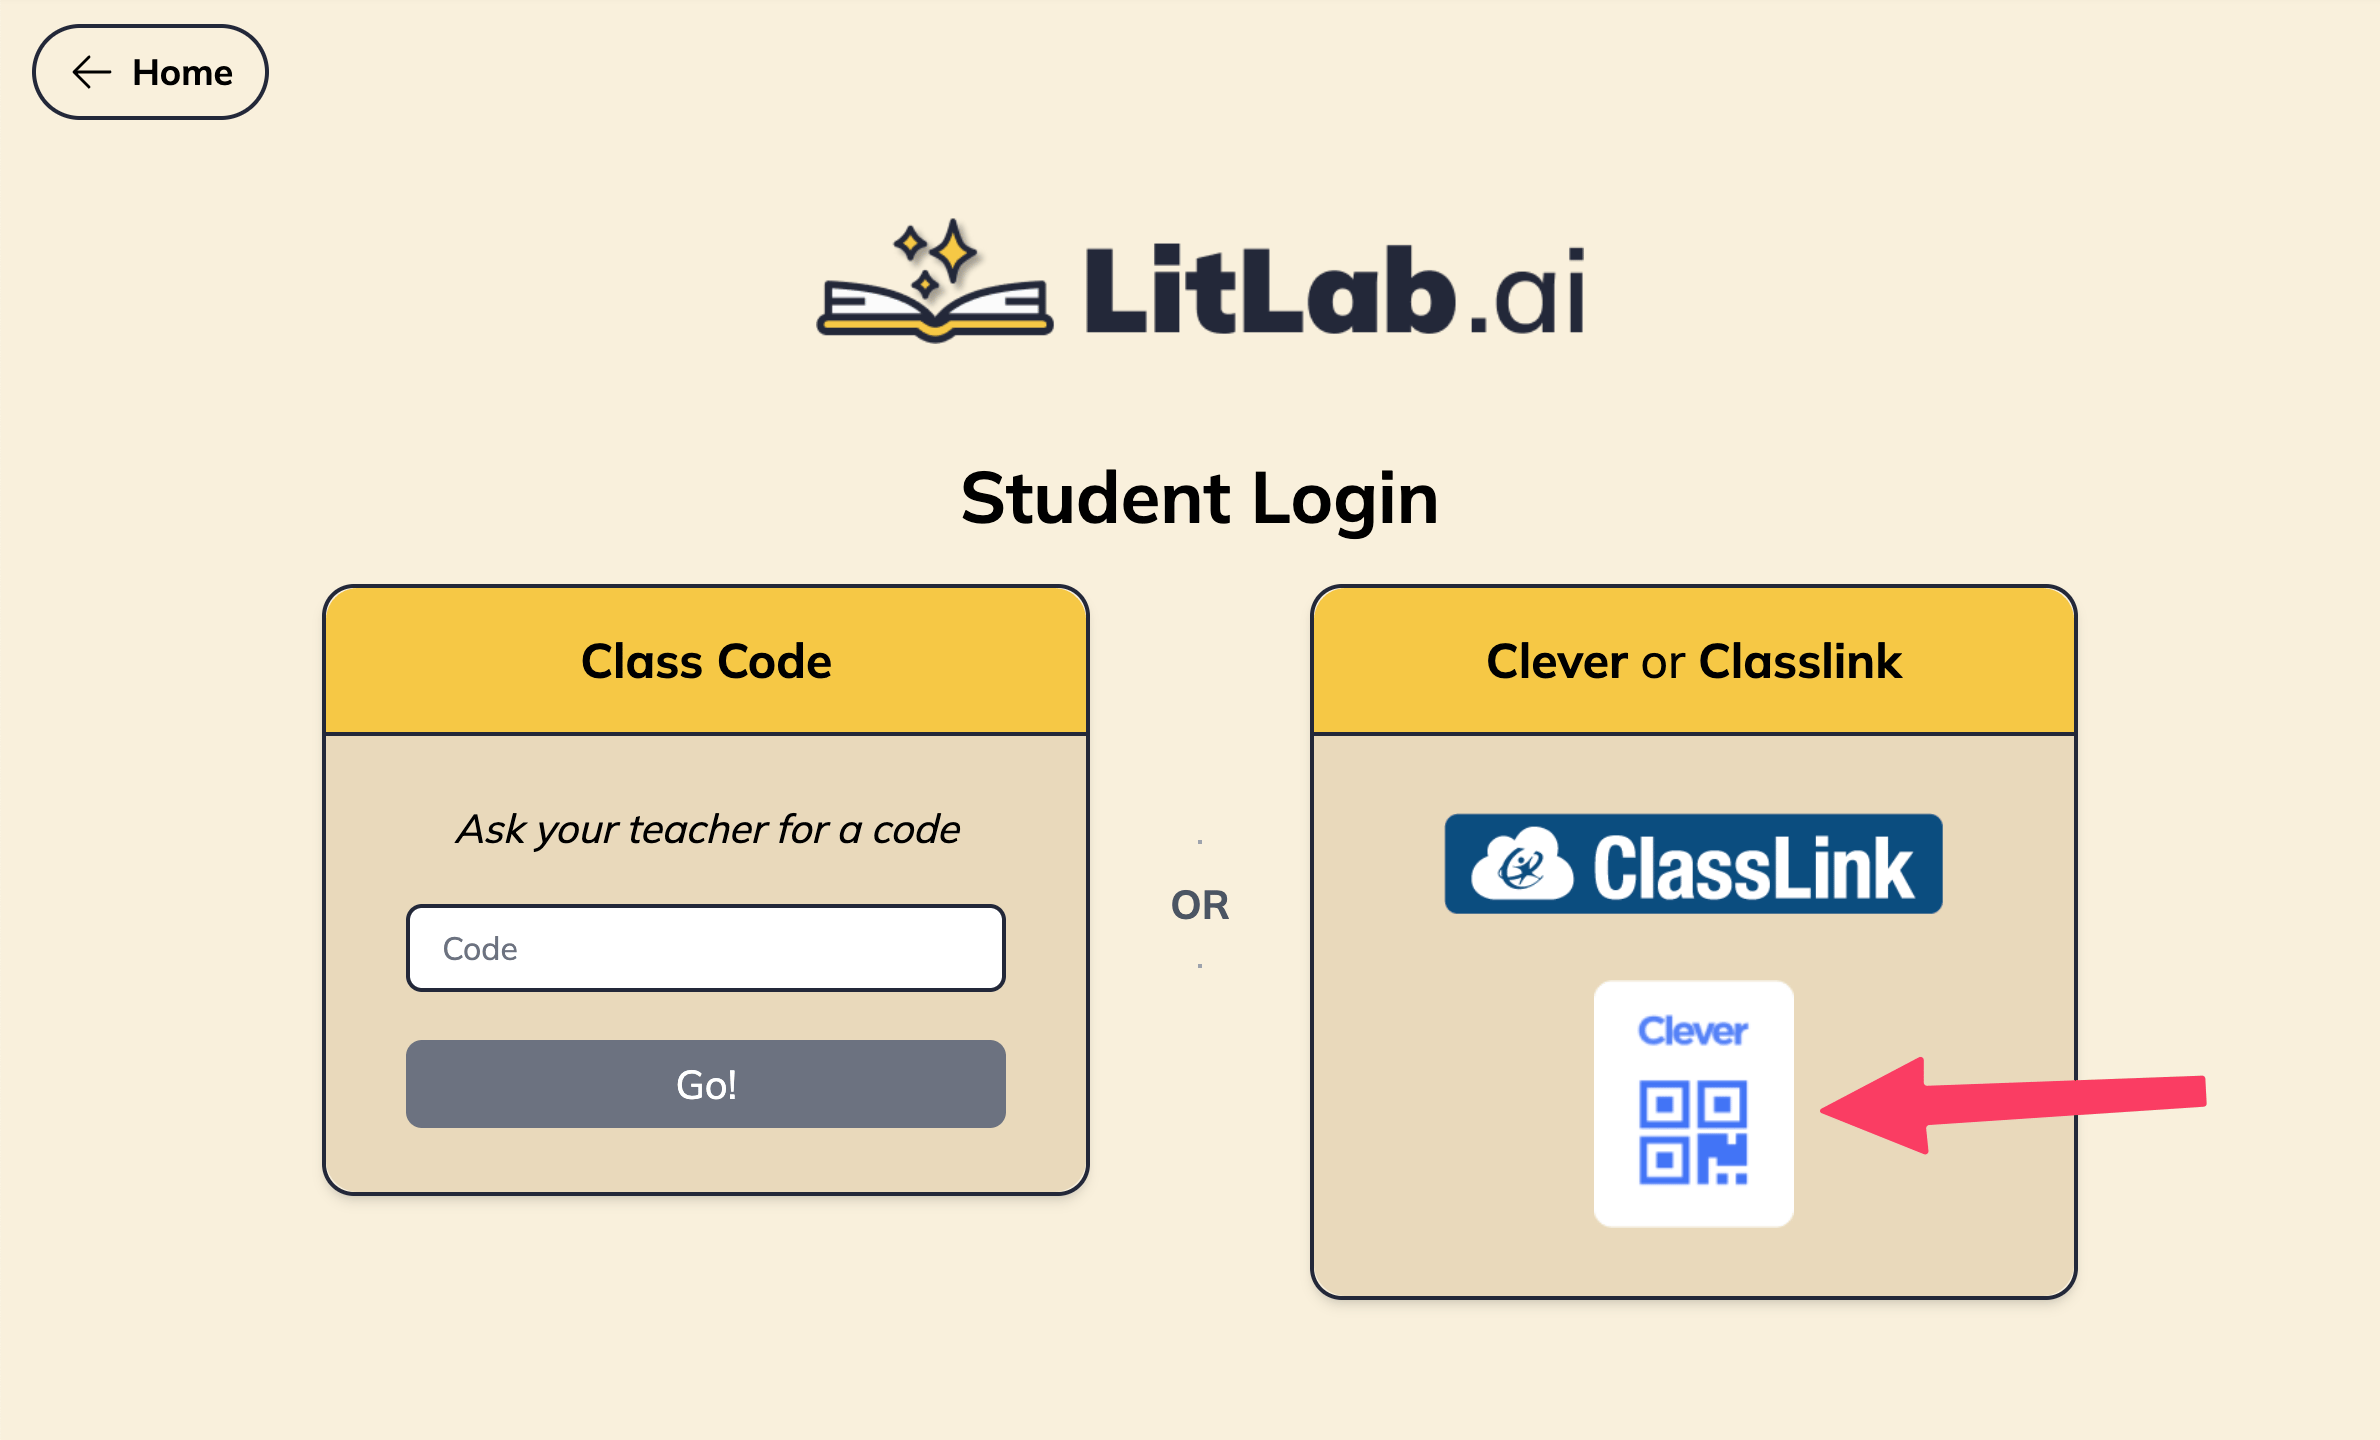
Two Types of Clever Integration
Clever offers two distinct types of integration. The option that is active for your district determines what teachers and students experience.Clever Library (most common)
Clever Library (most common)
An individual teacher connects to LitLab from their own Clever Library, no district authorization needed other than global Clever Library permissions enabled. This is how most of our Clever districts roster today: it brings in that teacher’s classes, sections, and students, without any district IT setup.Find LitLab in the Clever library here: https://clever.com/library/app/litlabai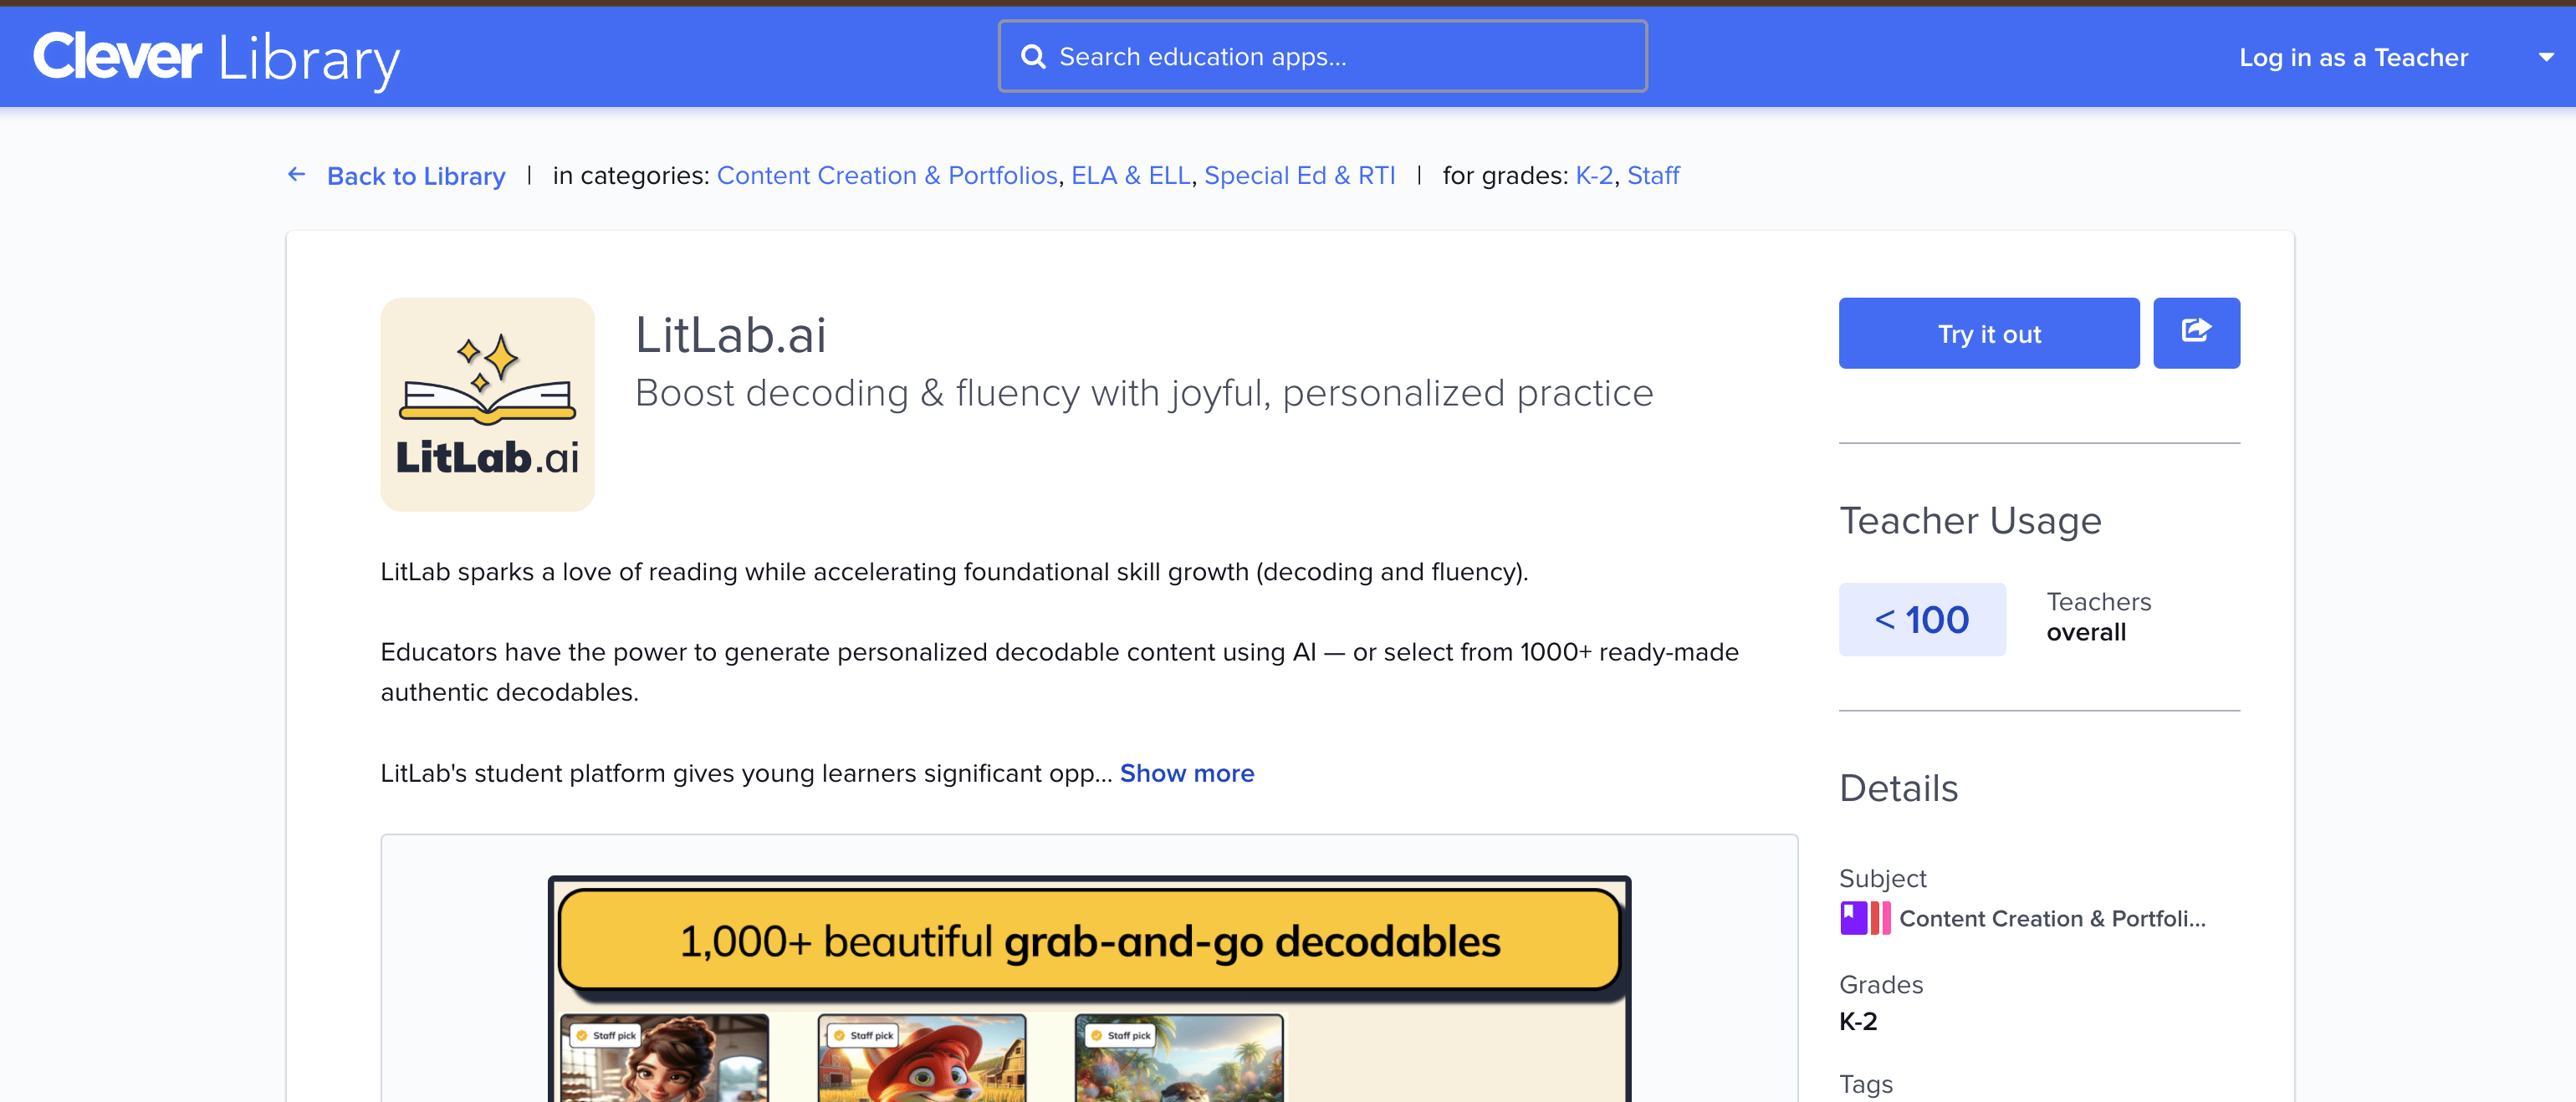
Secure Sync (district-level)
Secure Sync (district-level)
A deeper, district-level integration that your IT team adds from Clever’s app store. Secure Sync is available for an additional cost. Once enabled, LitLab can read your entire district’s rosters directly. Reach out to the LitLab team at ops@litlab.ai if you’re interested.
Not sure which of these your district has enabled, or whether you need Secure Sync? Reach out to ops@litlab.ai to confirm your current Clever setup.
Setting Up LitLab Through Clever
Follow these steps to get your students rostered and signing in through Clever.1
(Clever Library only) Connect LitLab to your Clever dashboard
Visit the LitLab app page on Clever.
- Click Install.
- Choose the class page(s) where you want to install the LitLab app.
- Once installed, the LitLab icon will appear on your students’ Clever dashboard.
2
Roster your students via Clever
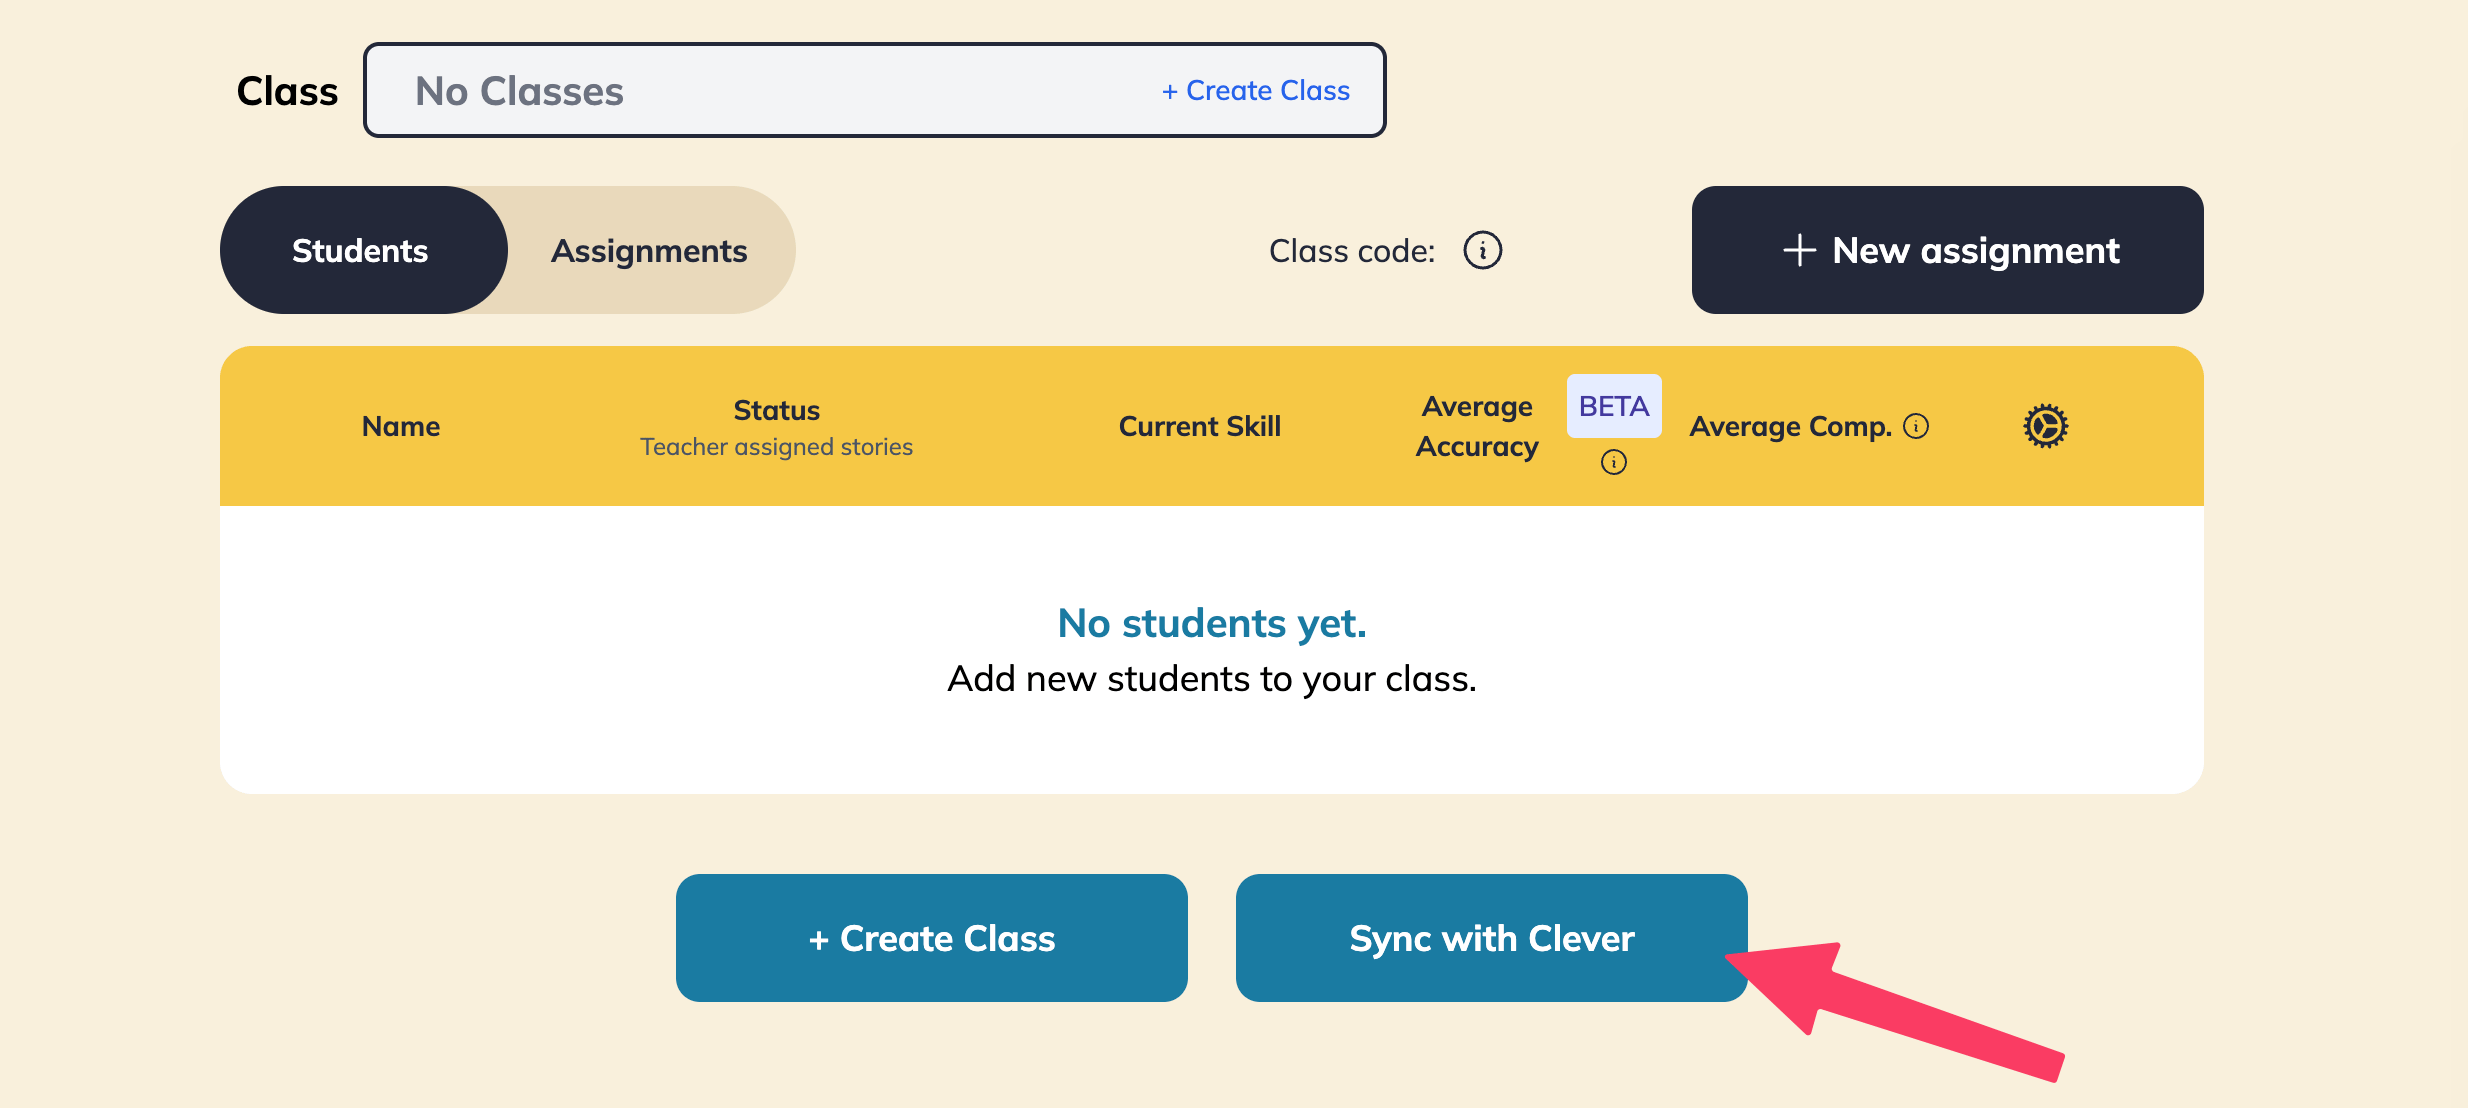
- Log out of LitLab and log back in via Clever.
- Go to the Dashboard and press Sync with Clever.
3
Direct students to log in
Once you complete Steps 1 and 2, students can sign in two ways: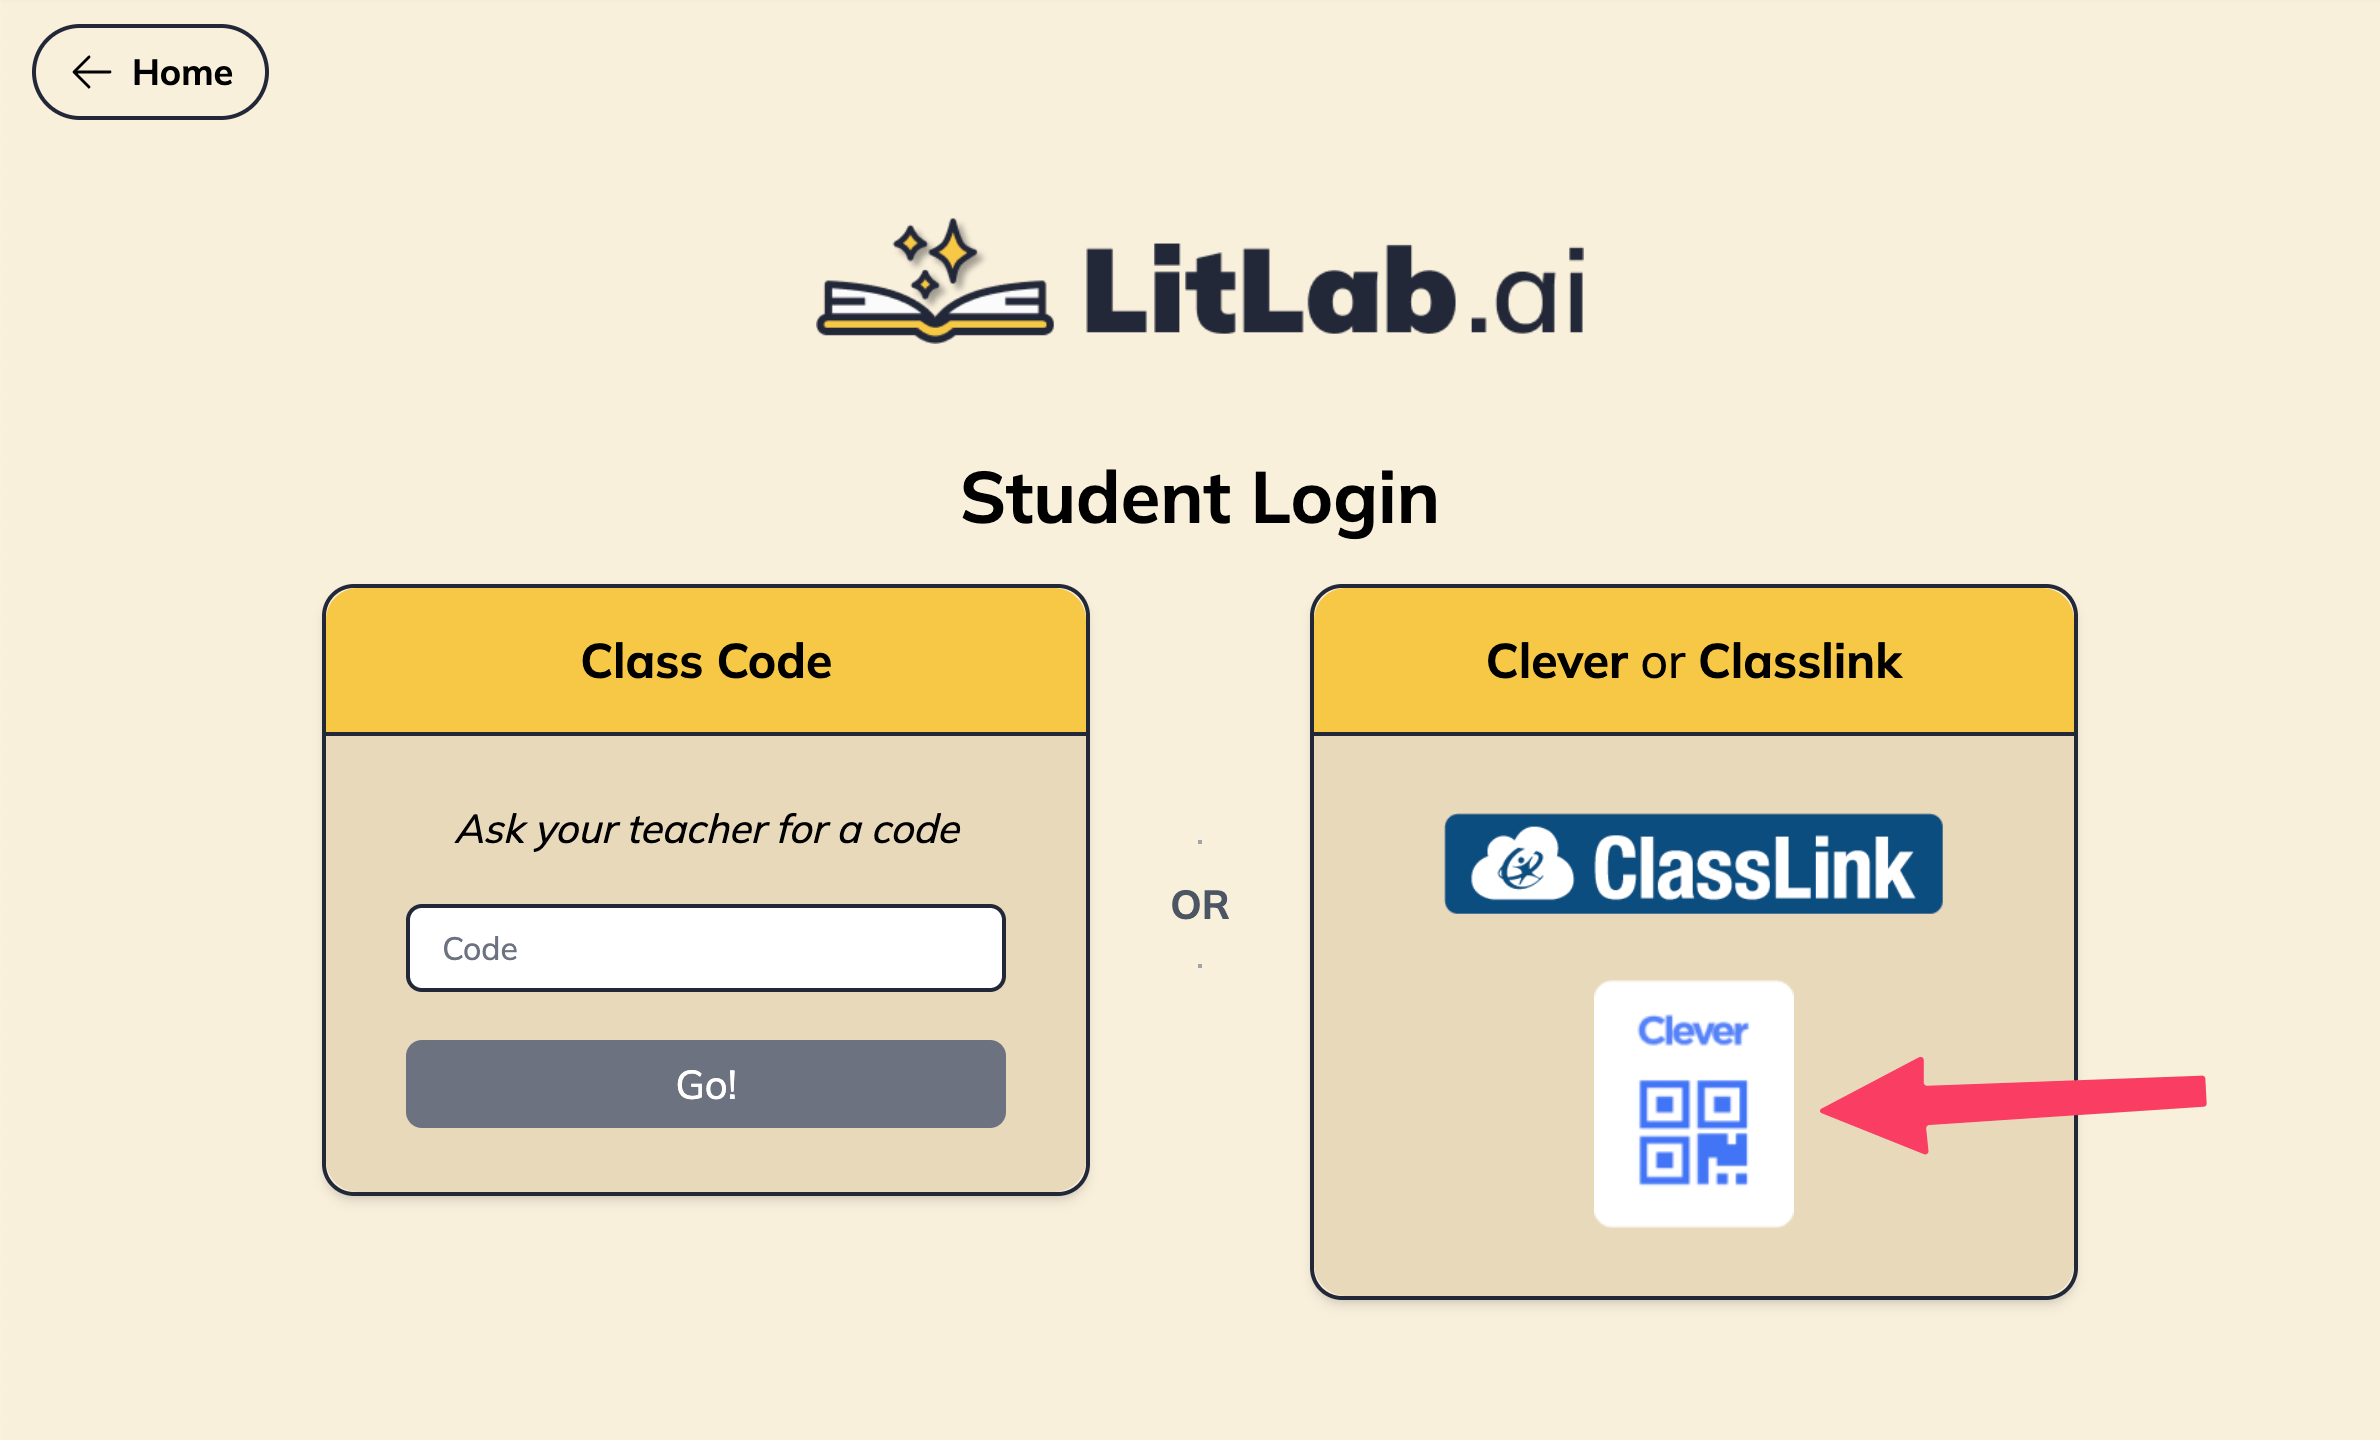
- Students click the LitLab icon from their Clever portal. They’ll be automatically authenticated, no username or password needed. Once logged in, students will instantly see their teacher-assigned stories.
- Or, direct students to the Sign in with Clever button on the LitLab student sign-in page.
This Clever Library flow is separate from District SSO / Secure Sync. Teachers using Clever Library don’t need their district to add LitLab to a district-wide Clever setup.
Creating an Assignment
Once your class is rostered, create an assignment so students see something waiting when they log in through Clever. To reorder or remove assignments later, see Managing Assignments.Re-Syncing Your Roster
If a student is added to your class in Clever after your first import, click Sync with Clever again from your dashboard, or open the class menu and pick Re-sync roster. Archive classes instead if you want them out of your active view.Adding Another Clever Class
After you’ve rostered your first class, you can import additional Clever classes at any time without re-syncing everything.1
Go to the Dashboard
Open your teacher dashboard.
2
Open the Class drop-down
Click the Class drop-down at the top of the dashboard to see your active and archived classes.
3
Press Import from Clever
At the bottom of the drop-down, click + Import from Clever to pick another rostered class to bring into LitLab.
Related Guides
ClassLink SSO
Set up LitLab with ClassLink, sync your roster, and get students logged in through their ClassLink portal.
Rostering
Manual and SSO rostering options, co-teachers, and re-syncing your roster.
Signing In
All teacher and student sign-in options, plus troubleshooting.
Printable Guides
One-page Clever and ClassLink walkthroughs to share with your team.