
Signing In
Teachers choose the Sign in with ClassLink option on the LitLab sign-in page.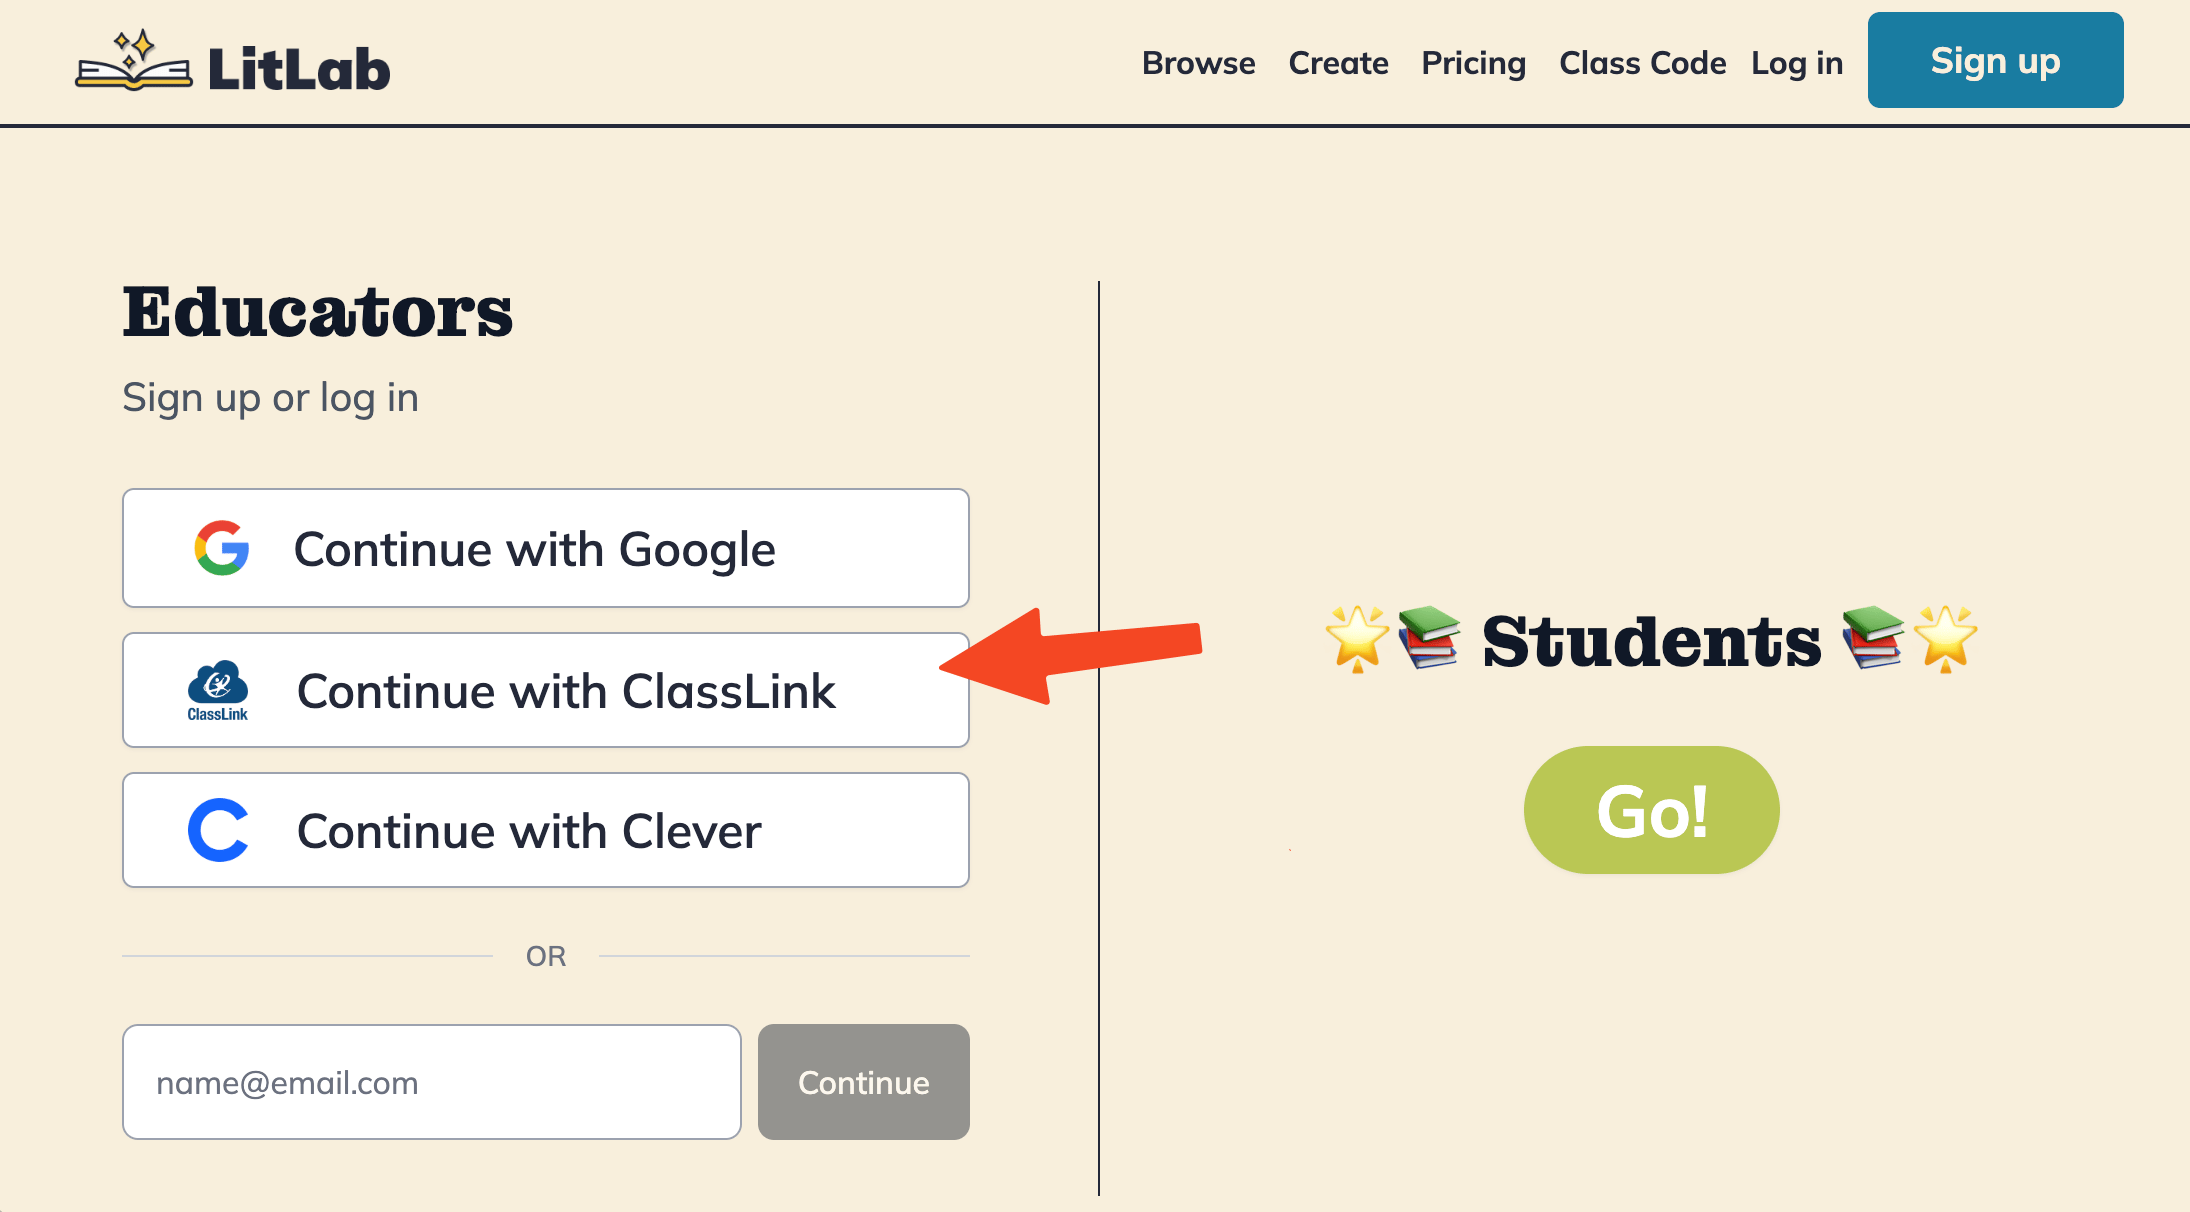
District Setup
ClassLink rostering requires a one-time setup between your district’s IT team and LitLab:1
Add LitLab in ClassLink
Your district adds LitLab as an app in the ClassLink Admin Console.
2
Configure the Roster Server
Your district configures and enables a Roster Server connection for LitLab.
3
LitLab completes the connection
Your LitLab account team completes the connection on our side.
4
Teachers can sync
Once complete, teachers can sync their classes using the Sync with ClassLink button on their dashboard.
Teachers can sign in with ClassLink before this setup is complete, but they won’t be able to sync their classes or students until the RosterServer authorization is complete.
Rostering Your Class
Once your district’s ClassLink connection is live, follow these steps to import your classes and students.1
Sign in with ClassLink
From the LitLab sign-in page, click Sign in with ClassLink, or launch LitLab from your district’s ClassLink portal.
2
Sync with ClassLink
From your teacher dashboard, click Sync with ClassLink to import your rostered classes and students.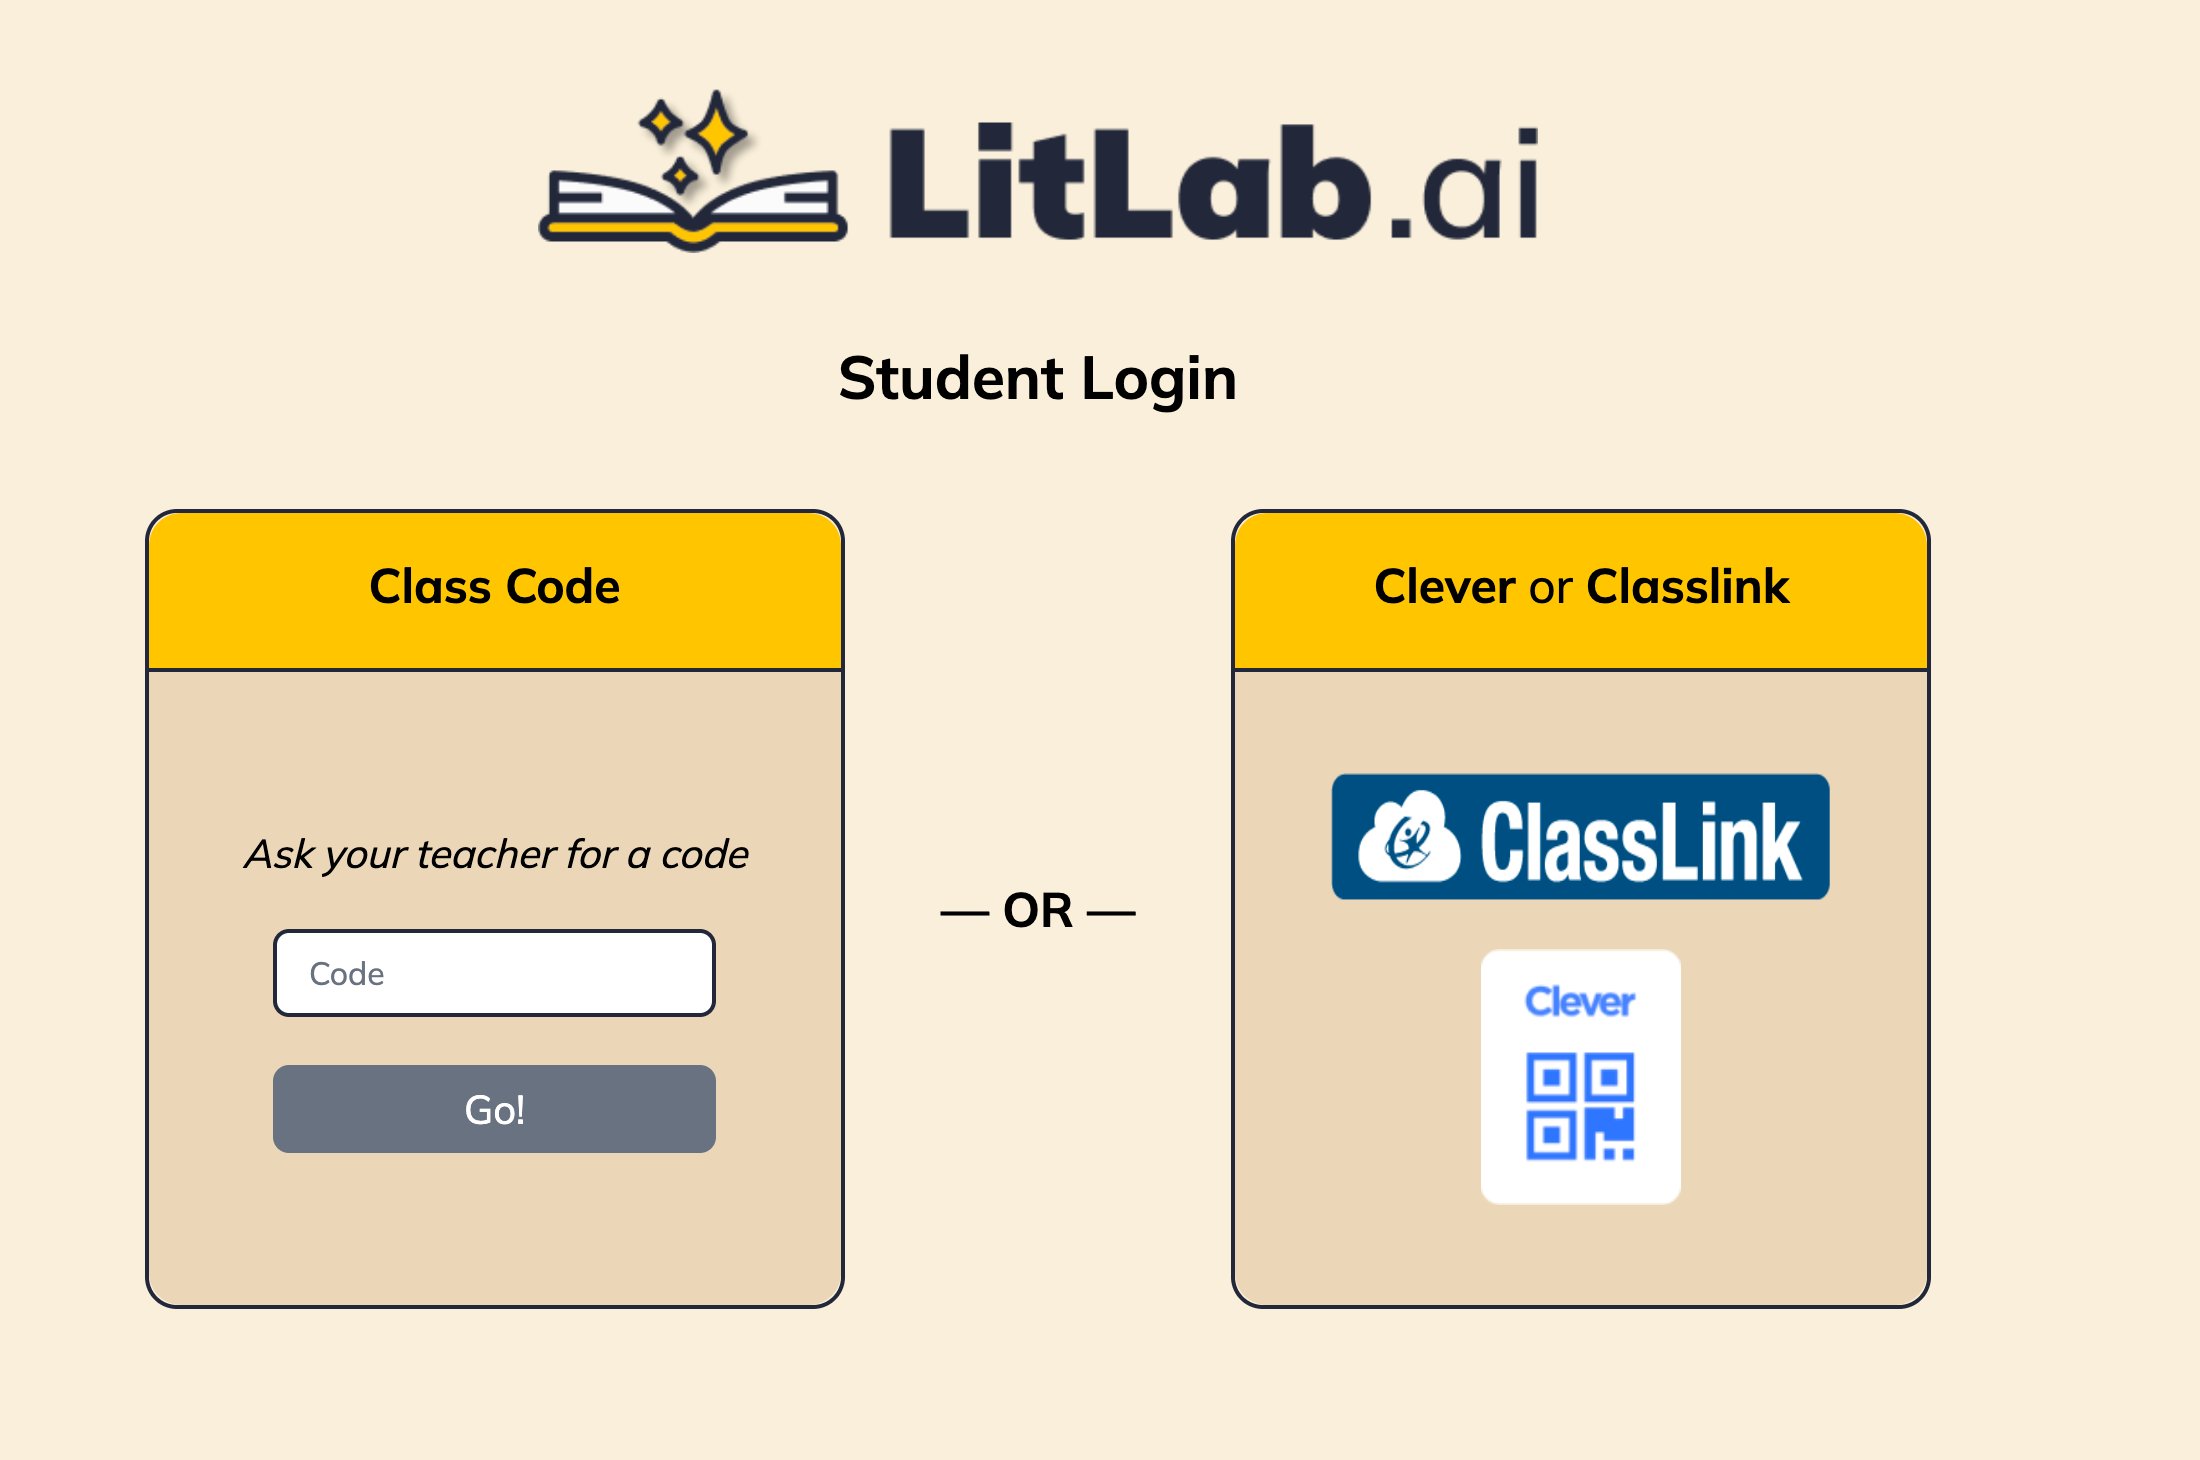
3
Re-sync when your roster changes
If a student is added to your class in ClassLink after your first import, click Sync with ClassLink again from your dashboard, or open the class menu and pick Re-sync roster.
Creating an Assignment
Once your class is rostered, assign a decodable so students start reading right away.1
Open the assignment window
From the dashboard, click + New assignment, or click Assign on any decodable. See Assigning Decodables for the full walkthrough.
2
Pick students and settings
Choose your whole class, a small group, or individual students. Set recording on or off, and confirm the phonics skill.
3
Send it
Click Assign. The decodable appears on your students’ pages the next time they log in.
Getting Students Logged In
Students at ClassLink districts can sign in two ways, with no class code, username, or password required.- From the ClassLink portal. Students click the LitLab icon inside their ClassLink launchpad. They’re authenticated automatically and land on their personal page with their assigned decodables ready to read.
- From the LitLab sign-in page. Direct students to the Sign in with ClassLink button on the LitLab student sign-in page.
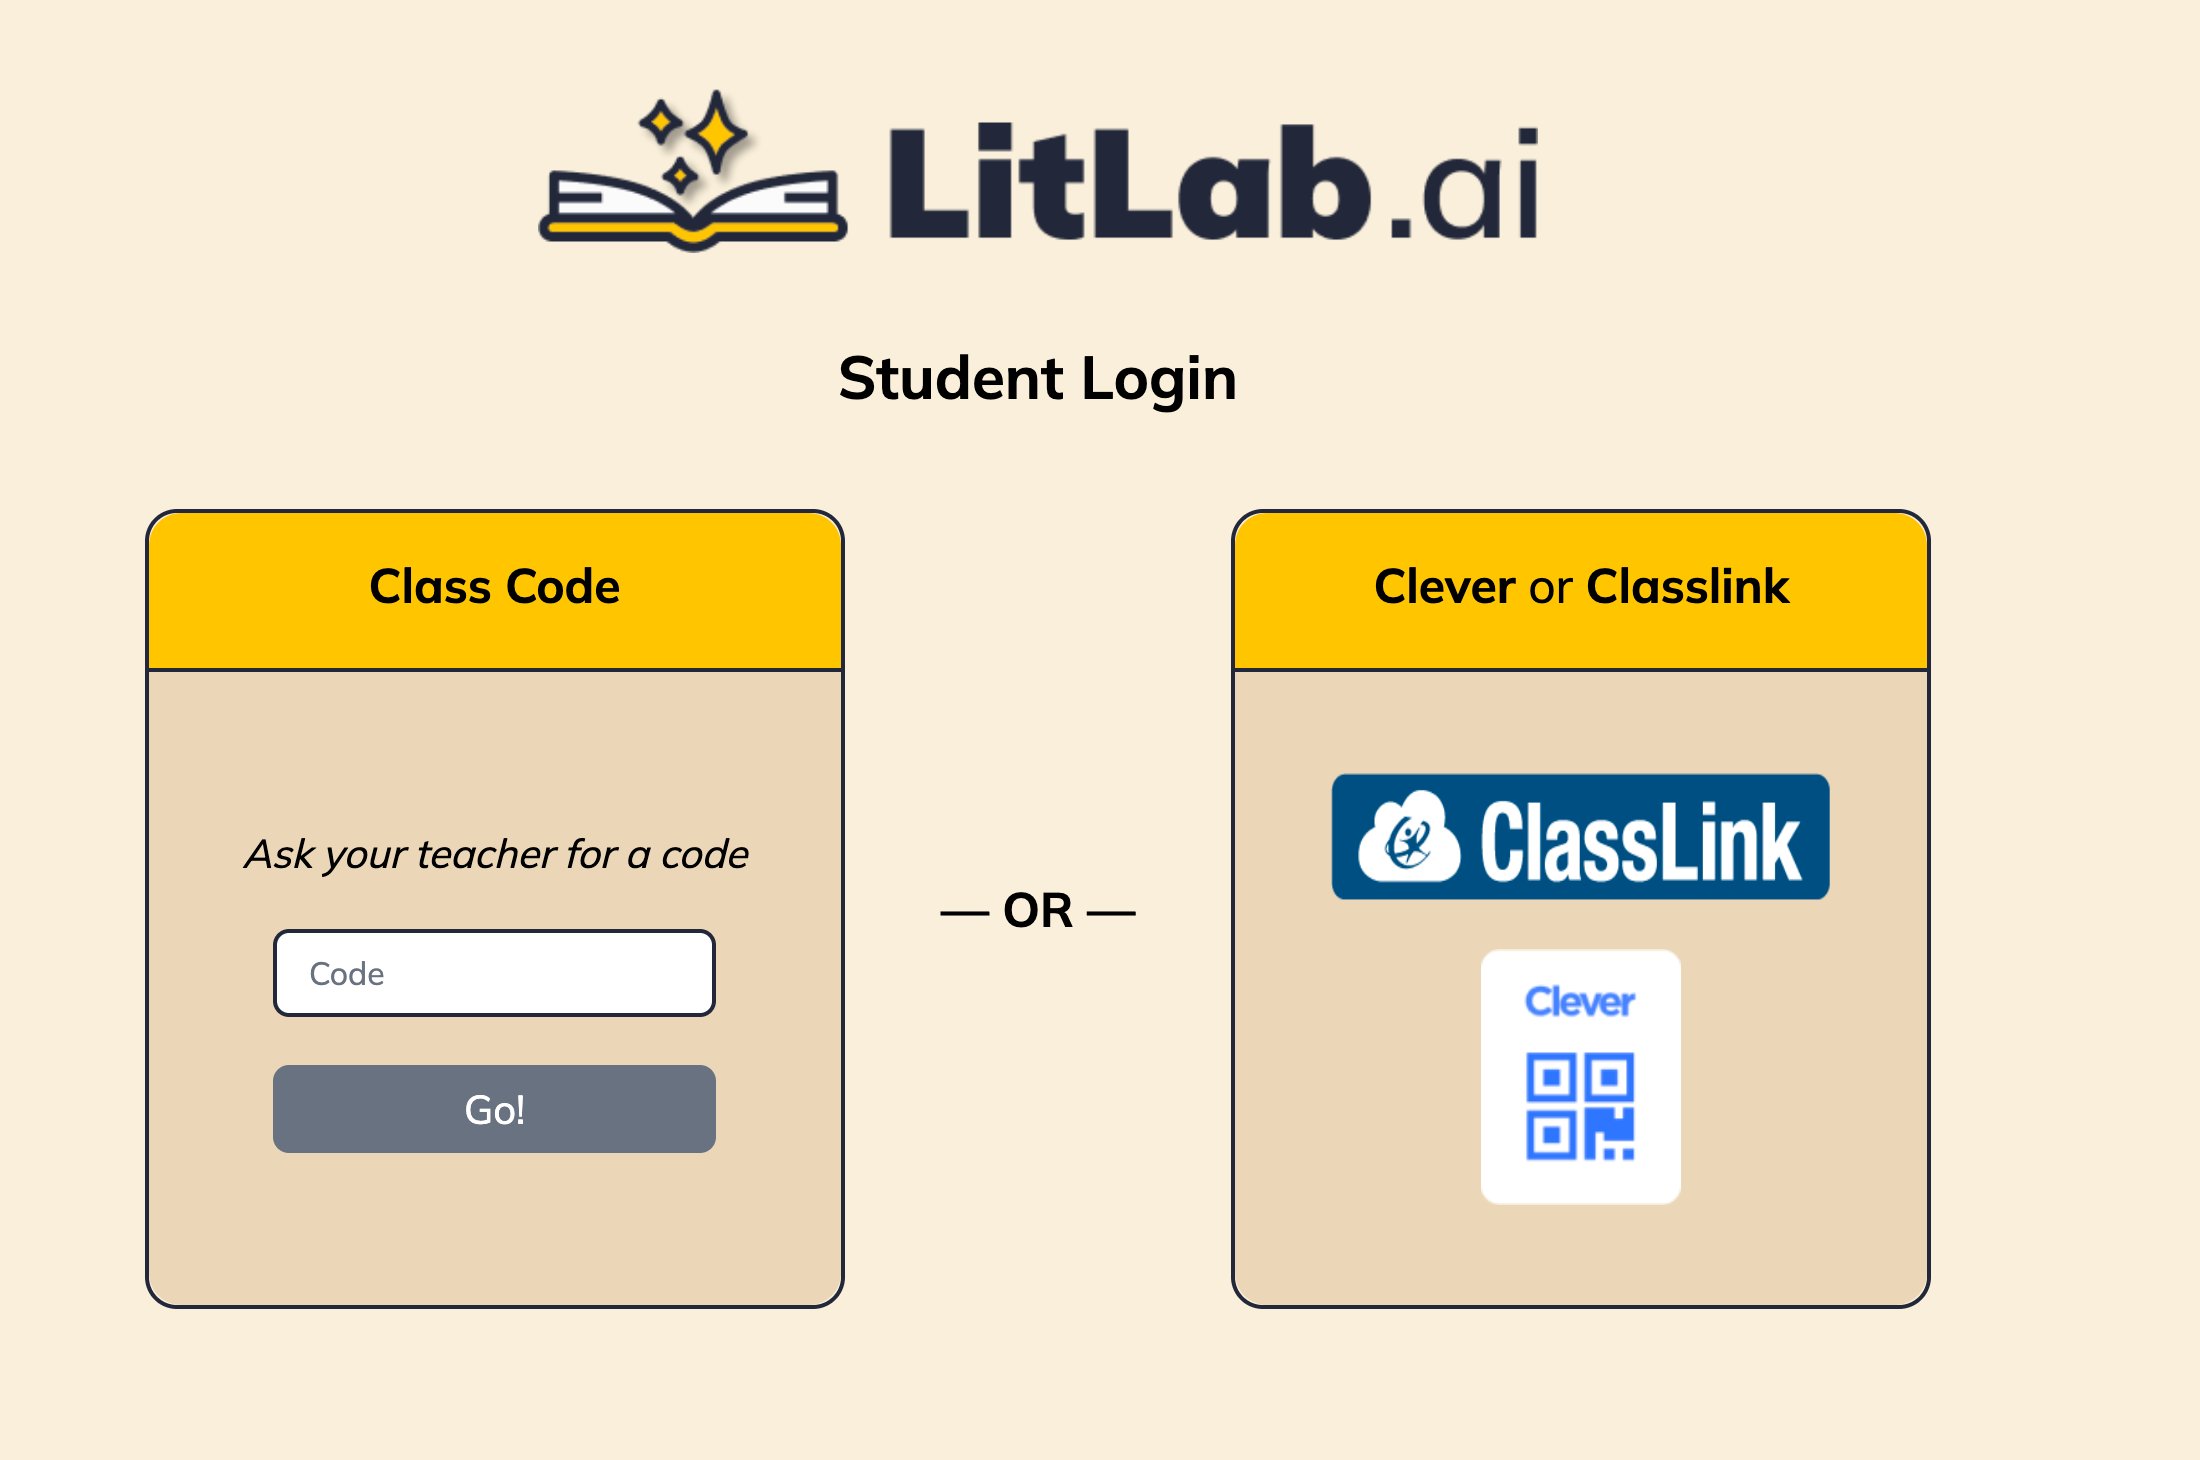
If a ClassLink student can’t find their name or their class after signing in, re-sync the roster from your class menu. If the student is still missing, confirm with your IT admin that the student is in the ClassLink roster shared with LitLab.
Adding Another ClassLink Class
After you’ve rostered your first class, you can import additional ClassLink classes at any time without re-syncing everything.1
Go to the Dashboard
Open your teacher dashboard.
2
Open the Class drop-down
Click the Class drop-down at the top of the dashboard to see your active and archived classes.
3
Press Import from ClassLink
At the bottom of the drop-down, click + Import from ClassLink to pick another rostered class to bring into LitLab.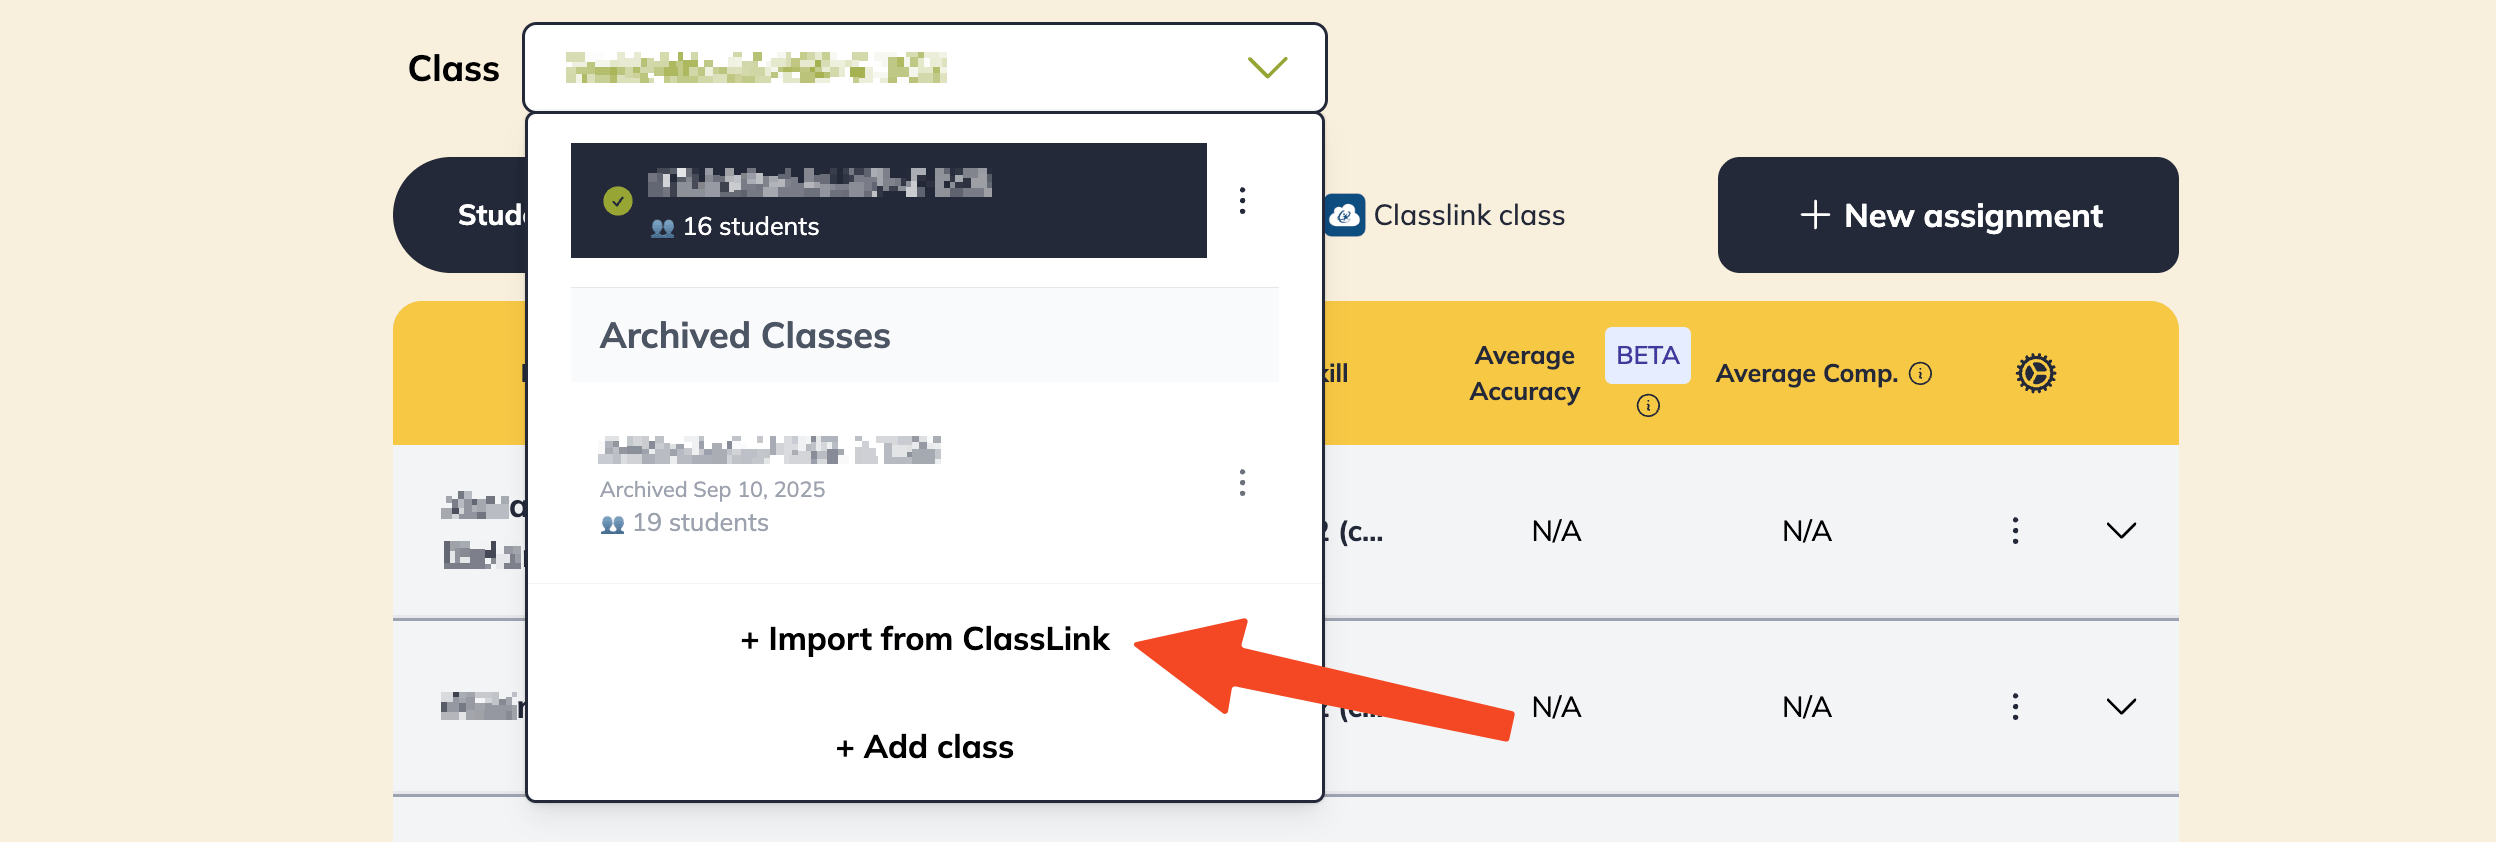
Related Guides
Clever SSO
Set up LitLab with Clever, either through the Clever Library or district-level Secure Sync.
Rostering
Manual and SSO rostering options, co-teachers, and re-syncing your roster.
Signing In
All teacher and student sign-in options, plus troubleshooting.
Printable Guides
One-page Clever and ClassLink walkthroughs to share with your team.